School is over! And now that I have the time, I'll restart my posts by showing you some gifts I made for my sisters. It took me a lot of time since I made two little purses from technically zero. The most important material were magazines and I used the same technique by which these candy wrapper purses were made:

I always wanted one of those, but I'm a big color-order freak, so I hated the fact that all the colors were placed in such a disordered way (in all the stores where i've seen them they're like this)
Anyway, the idea of making these purses came to me a week before christmas, and obviously I had 0 candy wrappers, so I improvised by cutting lots of magazine paper rectangles with the measures of the original candy wrappers. Yeap, it was tiring, since I needed approximately 200 of these for each purse, but I survived ;)

After finishing with the cutting I had to cover each piece with contact paper, to give the purse a brighter appearance and more durability.
 The pieces are upside down, that's why they don't look very colorful :)
 Contac paper everywhere!
 After all the cutting and covering, the next step was easy: folding and joining pieces.
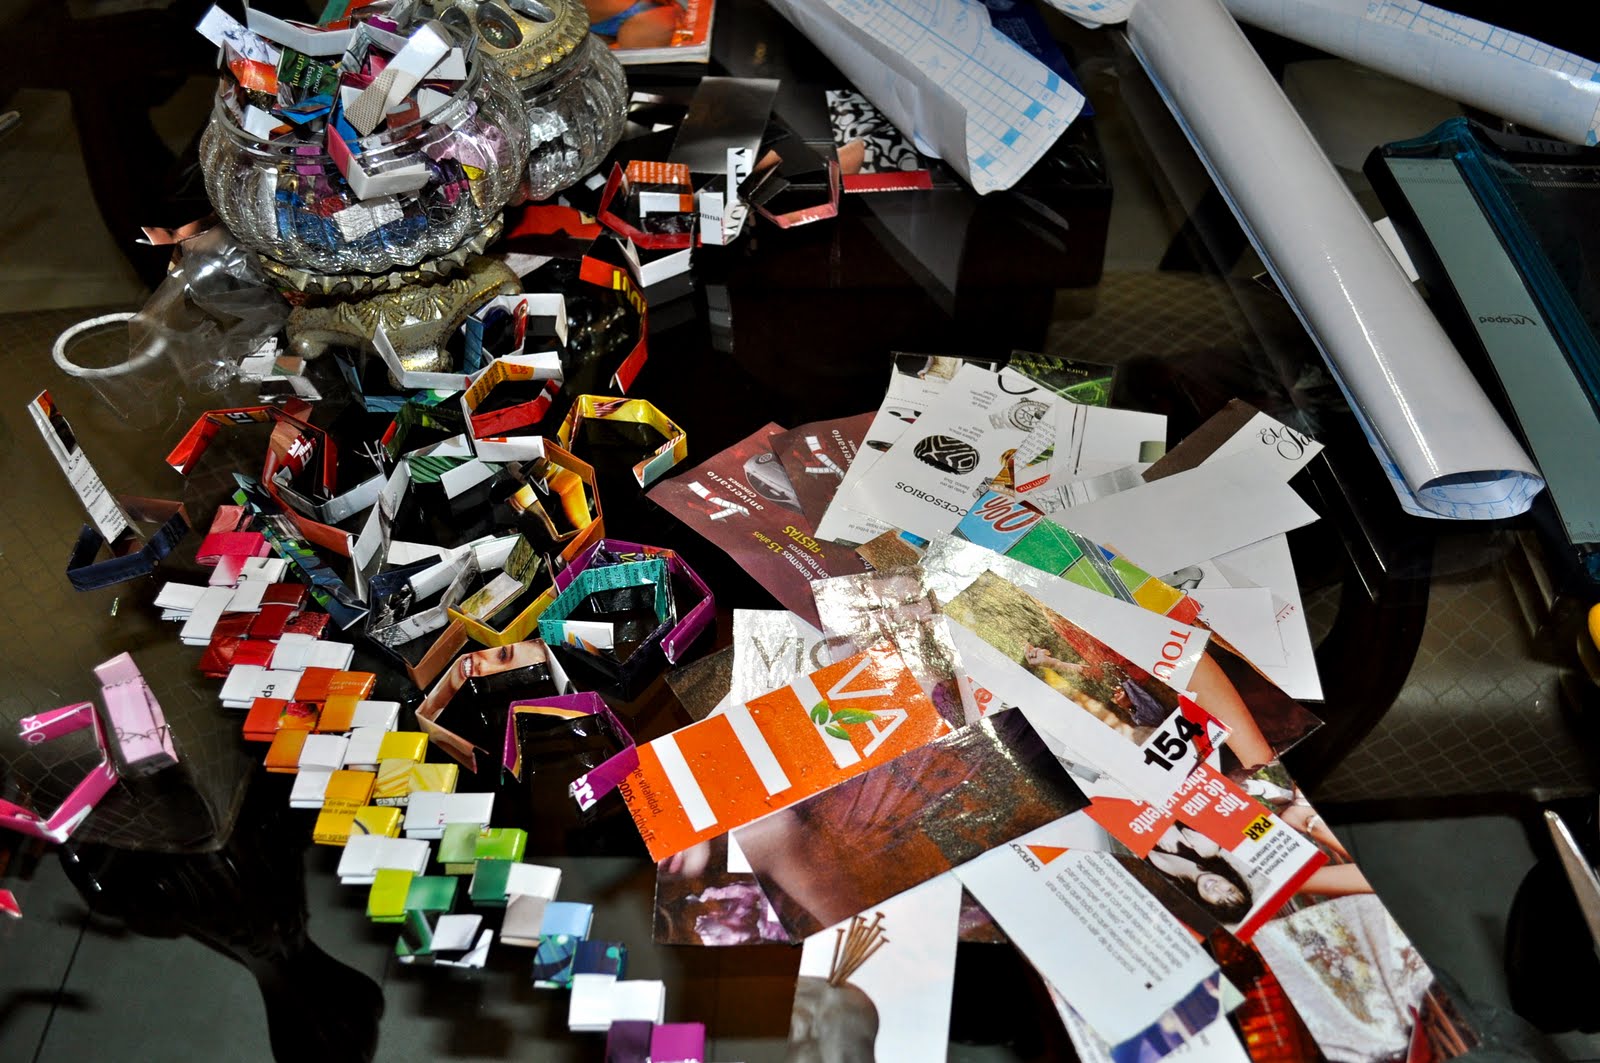
Because of the repetitive movements, my hands got tired after a while doing the same step, so I went to another step, leaving me with all these unfinished pieces.

The bowl I was filling with the folded pieces
Then I decided to finish all the folding, to make easier finding the color I needed for the chain. After this, joining pieces was fun :D I made pretty chains intercalating white with other colors, since my final idea was a purse with a pattern of rainbow and white stripes.

Pretty :D (but I hate the flash reflecting in the glass :@)
I made five chains and then joined their ends to obtain five circles.

Now it was time for sewing the chains together. I didn't took pictures of this process, but here is the final piece after joining the 5 chains.


Then, I sewed the lower part of the cylinder together.


Last two pictures are for you to see the actual size of the bags. Now is time for the final step, which is to add the zipper. I added the zipper to both bags the afternoon of the 24! I didn't thought it would require so much time to make this purses :P (I started on monday), so I didn't took pictures of that step (I was in a rush).
Yet, I decided to add a keychain to the zipper instead of a handle to the bag, and I did took photos of these keychains.

This one is for the rainbow purse. My sister is a graphic designer (that's why her purse has lots of colors) and she loves animals so I thought this keychain was adequate enough, besides its cute and makes a good match with the purse :D

The second purse I made is black and gray, so this keychain goes with it pretty well. My other sister studied international business, so I thought of using more dark and neutral colors for her :)
I don't have photos of the final rainbow purse, I totally forgot about the pictures, but I guess you can imagine it more or less. However, I do have photos of the other purse completely finished, which is more important since you haven't seen anything of it yet :D

